Ptera Flying Wing Build
The Ptera Flying Wing is my first attempt to build a forward-swept wing. After doing much research on the internet and looking at a lot of similar designs I made a start. The inspiration for the design came from one of the flying dinosaurs the Pteranodon and hence the name. It’s pronounced like “terror wing”


Creating the fuselage and wings
I’ve used my CNC Foam cutter to make the parts as you can see below. It uses the Clark-Y aerofoil for the entire design. Using DevWing Foam2 to generate the g-code and polystyrene foam from B&Q in the UK it came out quite well. Now I need to start putting it together.
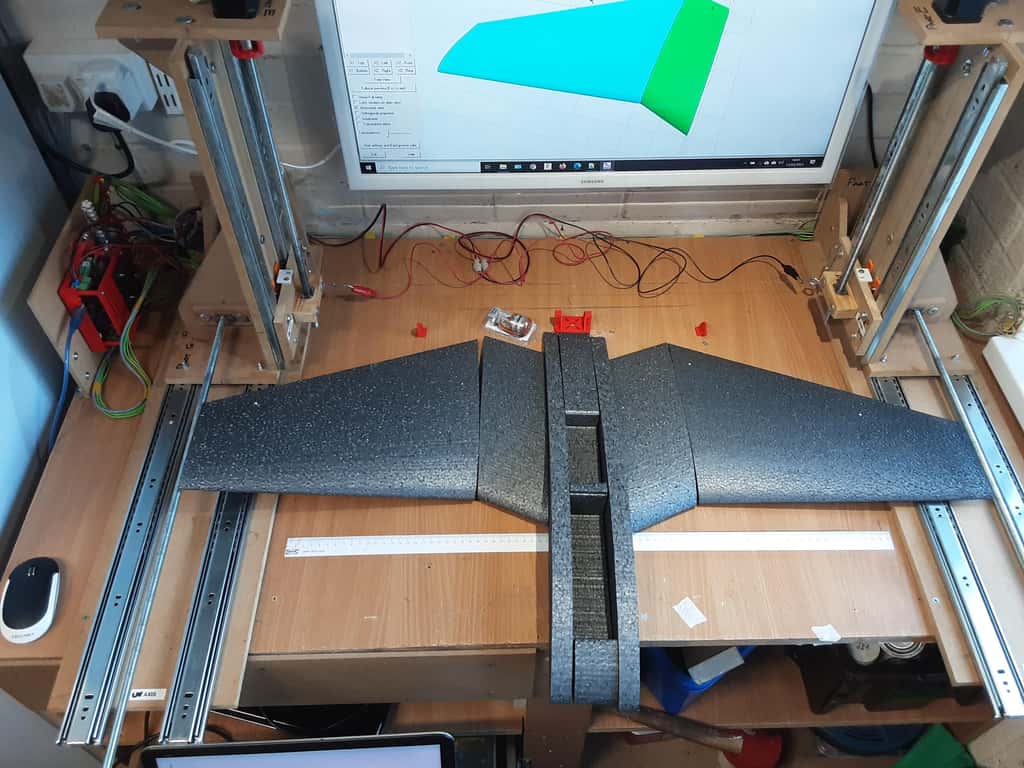
Fuselage build
The fuselage section is made of three parts with the side sections reinforced with 5 mm carbon spars. I glued the sections together with PVA glue which works well on polystyrene. I recently just converted my CNC router to a USB interface and this proved a good test to make the spar slots. I normally use a Dremel with a tile attachment but this works much better. Although the setup takes a bit longer.


Wing Sections
The first job on the wing sections was to cut some pockets out for the servos to sit it. I used the CNC router for this as well. Using OpenBuilds CAM software it was easy to generate a rectangle shape and transfer this to OpenBuilds Control to cut the pocket 13 mm deep. I purchased some 17-gram servos from my local model shop Nitro Flight in Rotherham. His prices are very good with good quality products.
I need to create some holes in the wing sections for the servo wires. I could have used the foam cutter but decided not to. The reason for this is the hole would extend the full length of the wing and the servo is quite near the root tip. So I just used a 5 mm carbon rod like a drill bit to create the hole. I used the centre section as a guide for the holes.


Covering in Brown Paper and White Glue – Preparation
I decided to use my favourite covering technique for the main wing section. The nose section is going to be covered in fibreglass and Poly-C which I used on my Hawker Hurricane. I did think about using brown paper on the nose but the shape is better suited to fibreglass and Poly-C
The photos below show how I prepare the model. First I fill any necessary areas and then water down the lightweight filler and smear it all over the model. This fills in the little undulations you get in polystyrene.
Next, I lay the model on brown paper and mark the outline with a sharpie. I then add about 30 mm to the rear of the outline so this can fold over the top. The top brown paper will fold over the bottom at the front of the wing.


Back to the drawing board
Unfortunately, the Ptera wing didn’t fly. I couldn’t get it to launch without nose-diving straight into the ground which damaged it quite severely. I had several attempts. I think the choice of aerofoil didn’t help which was a Clark-y. I should have used a plank-type aerofoil. I may try again sometime in the future.