Getting Started with DevFus Foam 2 – Hot Wire CNC Foam Fuselage


So you’ve made some wings with your Hot Wire CNC Foam Cutter and wondered if you can make fuselages as well I’ve been on that journey too and now I can share my knowledge and experience.
I purchased DevFus Foam a few years ago and now there is a second release. In my opinion, it’s the best software for creating fuselages. I haven’t found anything else.
Free Trial
DevCad who make the software now have a free trial of their software. Previously everything would work apart from generating the g-code until you purchase a license. Once you download the latest version of the software you can use it to generate the g-code as well. I believe the trial lasts 7 days. You need an internet connection for this to work.
DevFus Foam Versions
I’ve made a Hawker Hurricane using the previous version of DevFus Foam and it was a challenge but turned out better than I imagined. Here’s the build page https://rckeith.co.uk/cnc-hawker-hurricane/
This article and the video series should help you to get started with DevFus Foam 2. It’s not the easiest software to learn and the help is good if you are stuck. We are going to build a BAE Hawk jet with a 64mm EDF fan. It was also developed for the US Navy as the T45 Goshawk.

Of course, you can always buy one and they do look good and fly well. But if you crash, it can be hard to repair if that’s possible. Building your own if that happens means you can remake any broken parts.
How does DevFus Foam 2 work
We start off with a drawing of our intended model. This can be a CAD drawing in DXF format or an image file, such as a jpeg. Several image formats are supported.
The image is imported, top and side views and then we calibrate it to our desired size. Once we have the image DevFus Foam 2 creates outlines of the top and side views, but these usually need to be manipulated.
We are then asked for the size of foam to use and from that, the formers are generated. Unless it’s a very simple design these will most likely need some work. The first video is an overview and shows the basic operation.

Once we have the formers we have some options for spars, lightning holes and sheeting. DevFus Foam 2 introduced wing and canopy slots option. On my Hawker Hurricane, I had to make a template for the wing slot and eyeball it on the fuselage and cut out the recess for the wing. It was a bit tricky but worked out OK.
Requirements
What do we need to get started?
- DevFus Foam 2
- CNC Foam cutter with a control board
- Windows Computer 32 or 64bit
DevFus Foam 2 isn’t free software but you can download the full version and use nearly every feature. The only thing you won’t be able to do is generate the g-code. For that, you will need a license (free trial now available see above) from http://www.devcad.com/eng/prices.asp In my opinion, the cost is well worth it and I haven’t found anything that’s come close. Version 2 has some extra features such as wing and canopy slots.
Hot Wire CNC foam cutter – If you don’t have one yet then I have a series of articles and a free e-book. This has all the details, plans and parts list.
Tutorial Videos
Part 1 Overview

This video is an overview so you can see how the applications work without too much detail.
Part 2 Design
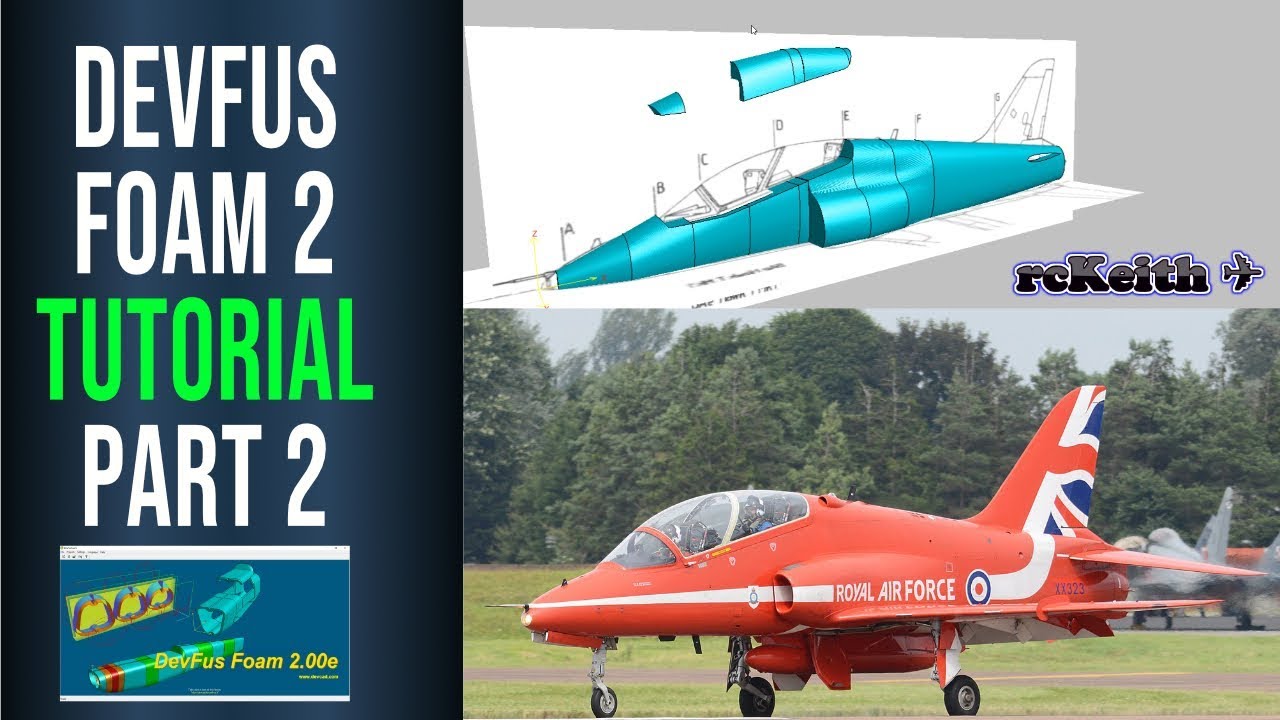
This video starts by importing an image, of our BAE Hawk and then covers creating the outlines of the fuselage. The formers are generated and then we use some section-cut images of our Hawk to get the jet intakes looking good. This is probably where you will spend the bulk of your time. Quite a long video around 45 minutes
Part 3 Wings and Canopy Slots
In this video, I cover a quick tip to help align the formers with the image and then go on to create the wing and canopy slot. I then show how to generate the g-code for one of the foam blocks.

Part 4 Cutting the fuselage
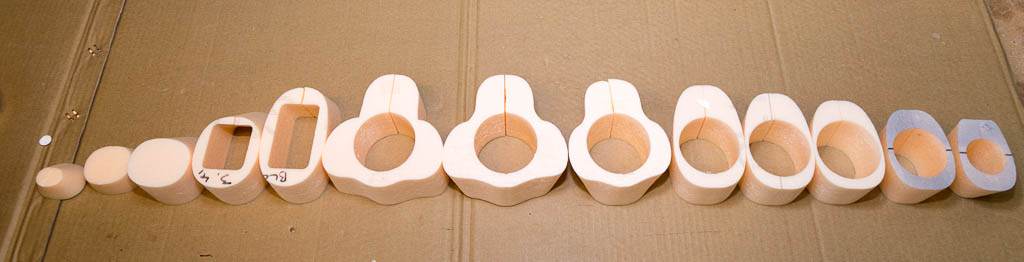
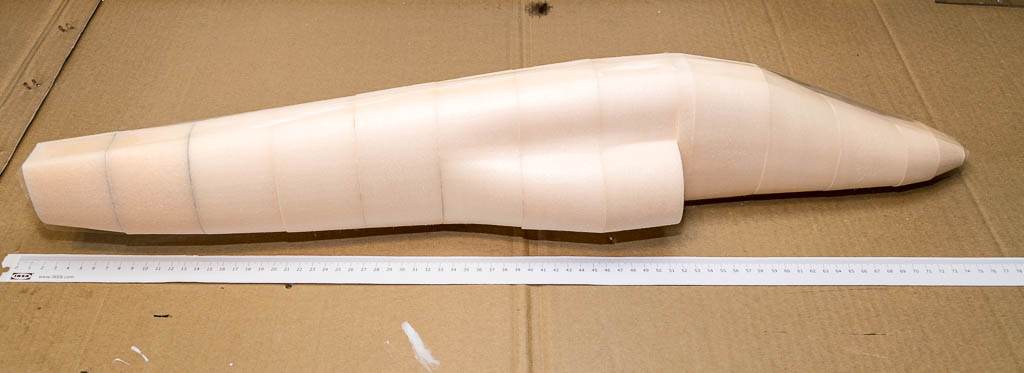
These are the foam parts of the fuselage I made with my CNC foam cutter.


Part 5 Cutting Tail and Canopy slots

Canopy and Wing/Tail slots
The Canopy and Wings/Tail slots were a little challenging, and I did have an issue with the wing slot, which almost ruined 3 blocks. The slot used the MH45 airfoil profile, but came out too small. After extensive investigation, it was determined that the kerf value (the amount of foam melted by the hot wire) was the cause of the small size. I did contact Stephano at DevCad and explained the issue, and here’s a link to the
After some testing with scrap foam, I found that setting the kerf value to 0 resolved the issue. It seems the inverse of what you would expect.
Jet Intakes
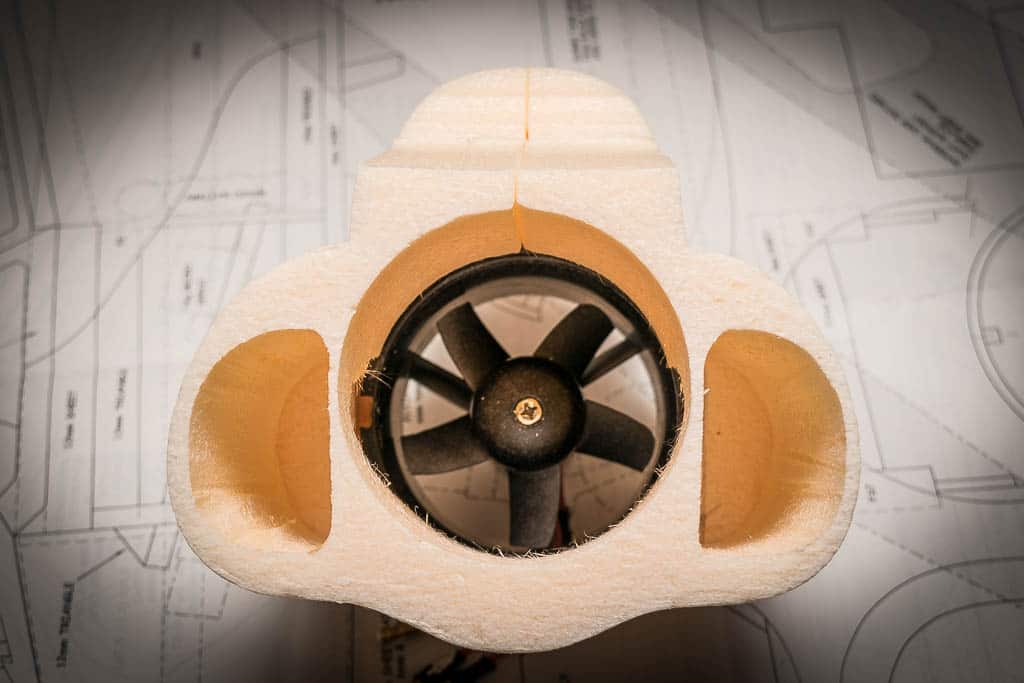
The jet intake ducts were the next challenge. To make these, I created two templates using the DXF file you can export from DevFus Foam as a starting point. After that, I used DraftSight(no longer free) to trace around the intakes of the reference image and copied these onto the DXF file. Almost there!
Initially, I printed these out and pasted them to some thin plywood and started cutting them out by hand, which didn’t look great. Why don’t I use my CNC router? That’s what it’s for, making parts like this, doh. So I imported the DXF into Fusion 360 and created the g-code. The templates came out well, and these were stuck to the former in front of the EDF.
Using a bow with a Ni-Chrome wire passing about 3 Amps was enough to allow me to follow the template manually and get the results below. Quite pleased with how they came out.




Wings
The wings can be made with free or paid software. Check my article and a video on the best g-code generator.
The companion program to DevFus Foam 2 is DevWing Foam 2 http://www.devcad.com/eng/devwingfoam.asp. When I made the Goshawk, I hadn’t upgraded to it, but I have now, and I’m very impressed compared to Profilli2 Pro, which served me well. I have a full tutorial
Part 6 Assembly
Here’s the video update on the assembly. Going together quite well with the wings covered in brown paper and PVA and will then be covered with white solar film. The fuselage is going to be covered with lightweight fibreglass cloth and Poly-C. I’ve decided to finish the Hawk as a US Navy T45 Goshawk


Test Flight
Here’s the video of the

Where did I go wrong in the design?
The main problem was that I had the EDF in the wrong place, and the outtake nozzle was too small. I didn’t do enough research and fitted it in the widest part of the fuselage. Which was too far forward. After doing some research, the EDF should be positioned around 4 times its fan diameter from the jet nozzle. I wish I had read this before http://www.radiocontrolinfo.com/rc-planes/edf-jets/edf-thrust-tube/
Well, you live and learn, as they sa,y and the plane has now been scrapped. I will build another, but this time following the recommended jet tube and nozzle size. This was my second build using DevFus Foam, and despite it not flying, I was pleased with the way it turned out from a visual perspective.