Vickers Super VC-10
This is how I built a Radio Controlled Vickers VC-10. It took me 3 years from my initial idea to my maiden flight. This wasn’t a continuous 3 years but when I could spare the time. I sometimes thought I’d been too ambitious and wondered if it would ever fly. It did and what a sense of achievement also very nerve-racking. She did fly several times and looked great in the air.

There are two versions of the VC-10 the standard and the Super VC-10. My build is a Super VC-10 but actually, BOAC G-ARVB was a standard VC-10. So hope you find this page interesting and drop me a line from the contact page if you’d like any further details.
Why build a radio-controlled Super VC-10?
A number of reasons. I suppose the main one is because when I was 14 years old I flew from Lusaka in Zambia to London Heathrow and on the route, I managed to get up into the flight deck, that was May 1970. A memory I’ll always cherish. I also flew on an East African Airways VC-10 from Mauritius to Dar-es-Salaam in 1968.
G-ARVB was withdrawn from service in November 1974. Unlike some later Standard VC10s that were eventually converted into aerial refueling tankers for the RAF (K2 model), G-ARVB was retired early and broken up for scrap at London Heathrow Airport in late 1974 / early 1975.
The picture below is the actual VC-10 I flew back to the UK on, she was the second VC10 made. First flying on November 8, 1962.
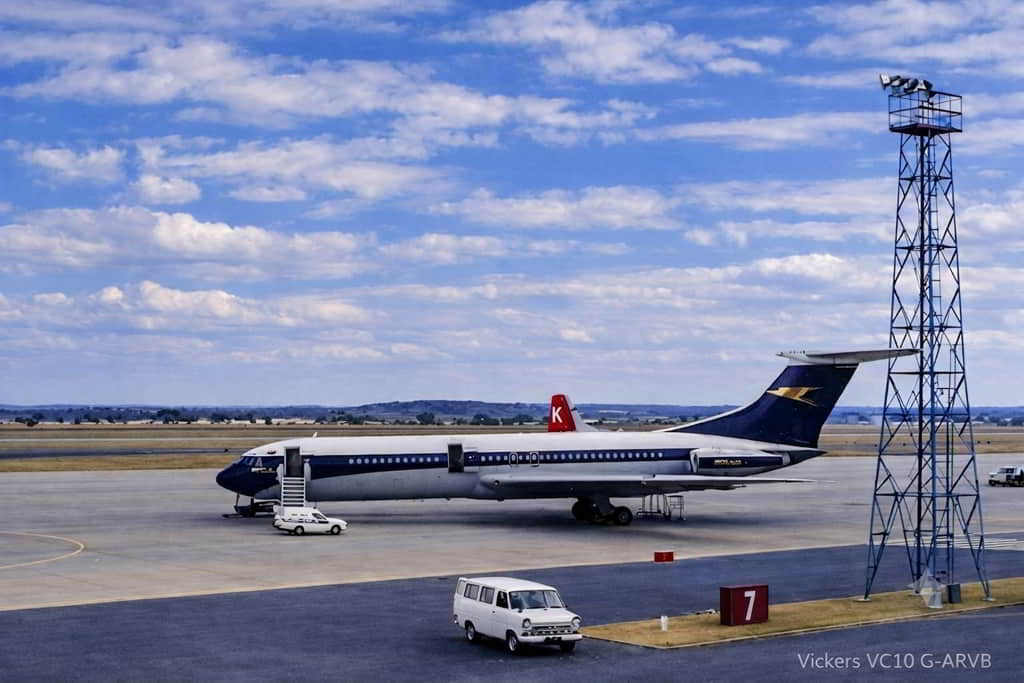
In my humble opinion, the VC-10 is one of the best-looking airliners ever built, so graceful, and just looks right. The RAF kept these aircraft flying until August 2013 after 50 years of service. One of them made its last flight down to Newquay’s Classic Airforce Museum http://www.cornwallaviationhc.co.uk/
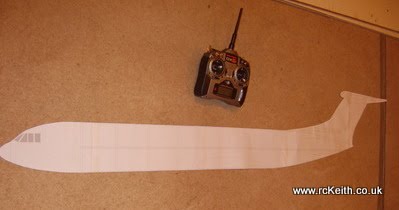
As I’m a Radio Controlled flyer I thought I should build one. Easy I thought just find a plan and build it. Well at the time when I started there weren’t any. Spent hours searching on the net and realised I had to do my own. I did find some 3 view drawings that I tried to scan into an AutoCAD but not very successfully. In the end, I found some 3 views in eps format which converted to DXF format but still needed quite a lot of work. After about a year on the plans, on and off I decided to make a start. The plans weren’t complete but I needed to build to figure stuff out.
Learning AutoCAD has also been great fun. I’m no expert but now I can use it for what I need. I used a very good book as a teaching tool which I highly recommend. AutoCAD-2007-and-AutoCAD-LT-2007-No-Experience-Required Although this book may seem a little old don’t be put off.
My favourite was DraftSight but it’s no longer free. LibreCad is available for free which looks very promising and follow the exercises and you’ll soon be able to use CAD. I’ve found it very useful for other projects as well.
Construction of the RC Super VC-10
Fuselage
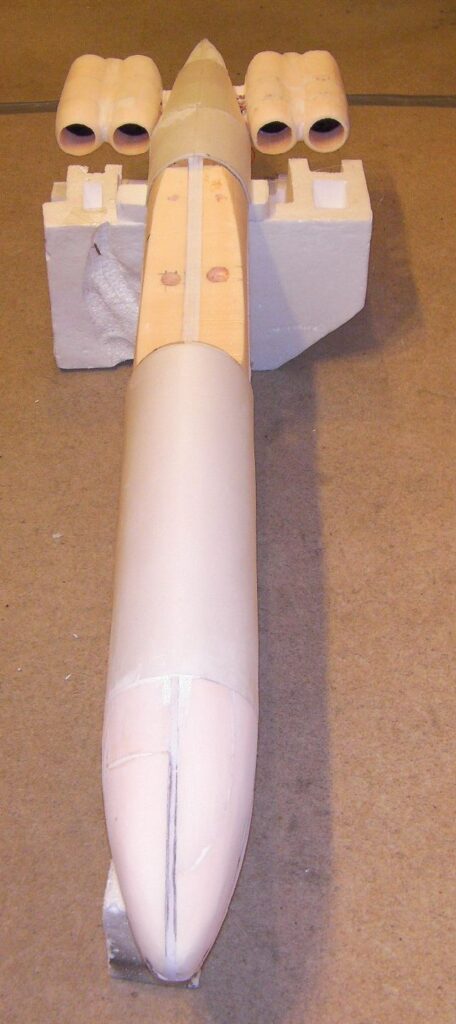
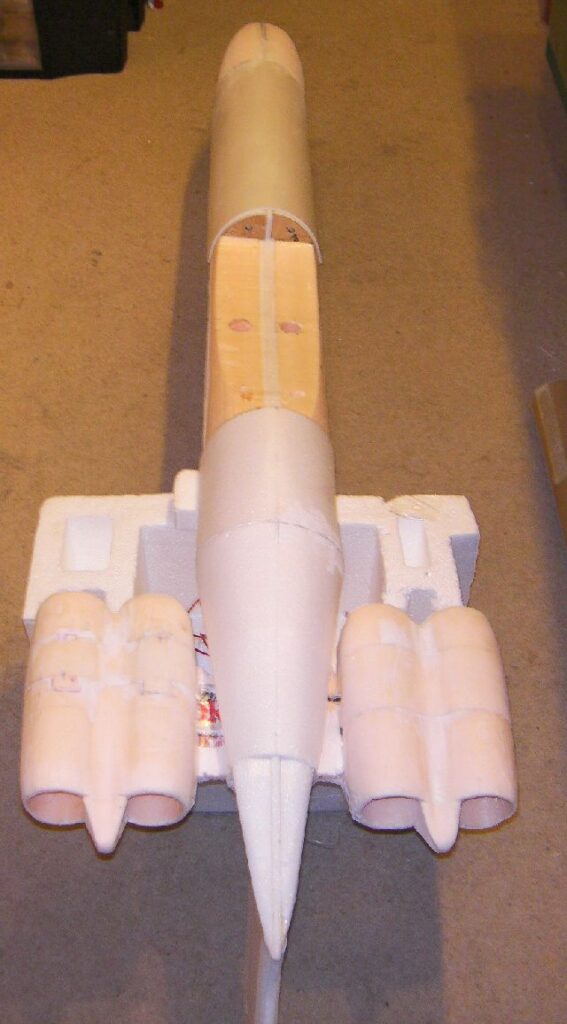
The plane is constructed from foam using Depron, XPS and white foam. Depron and XPS are mainly used for insulation. Depron comes in various thicknesses and the two sizes used are 3mm and 6mm. XPS comes in 1.2m’ x 0.6 x 52mm sheets. I did XPS from B and Q www.diy.com in the UK. but they don’t stock it anymore The white foam is just polystyrene also from B and Q.
The plans were a challenge at the time as there weren’t any so I had to learn AutoCAD and do them myself. Since then the renowned modeller Chris Golds has produced a VC-10 of his own and plans are available from Quiet Flight International. His is a more traditional build. My VC-10 is 1/30th scale wingspan is 58” (1.4m) length 68”.
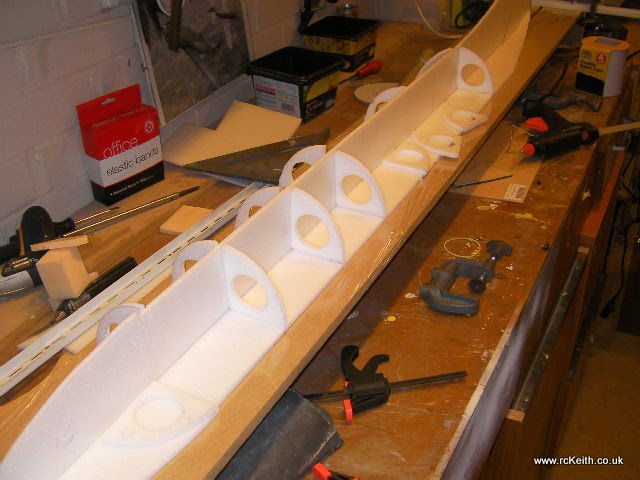
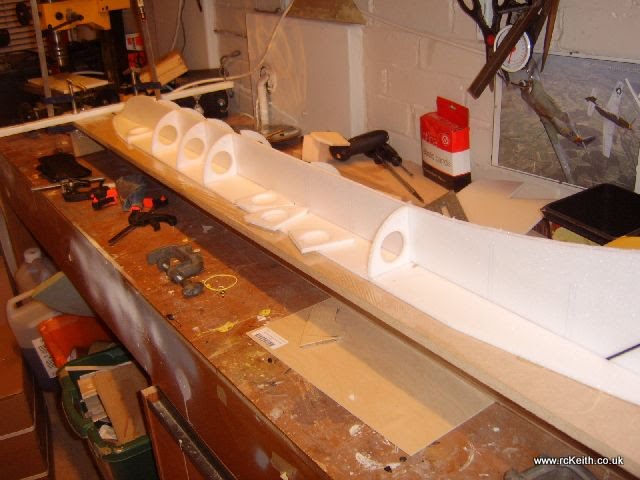
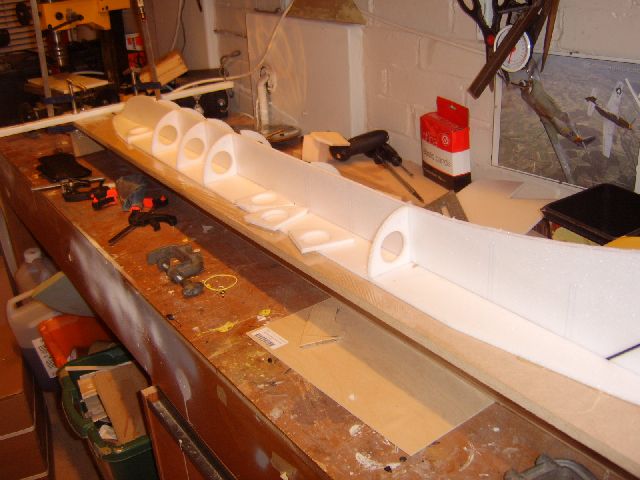
I’ve used a slotted spine technique with 1/4 formers. To ensure it was straight I built a jig from MDF and then glued the top formers in. As there were so many former to make I made a template out of 1/4” ply and stuck the depron on with double-sided tape. I then used a router with a bearing guide to make the outside and a hole cutter for the holes on the inside. I blunted off all the teeth on the hole cutter so it didn’t rip and ran it very fast on my drill press.




Engines
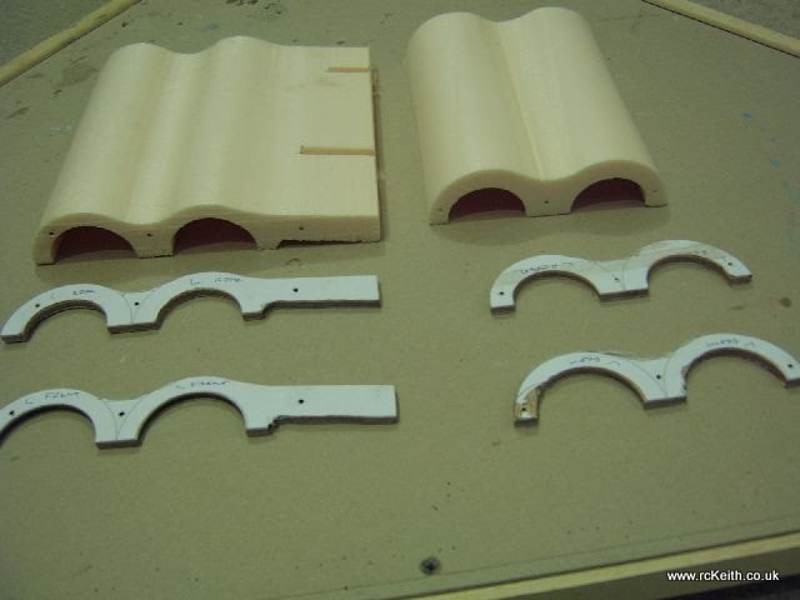
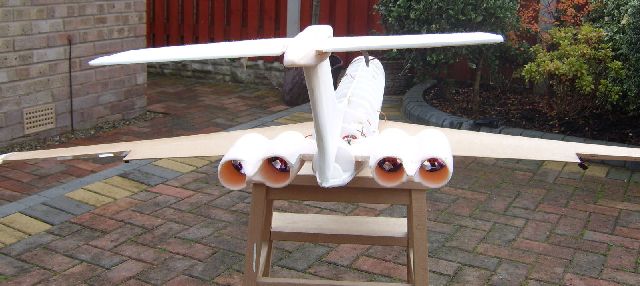
This took some figuring out and I scraped the first attempt because they looked just like tubes. The 2nd attempt was done in 3 sections allowing me to taper the front and back. Still not 100% happy but I think they are good enough. Fans are 55mm EDF with 4100Kv out-runner motors.



Tail
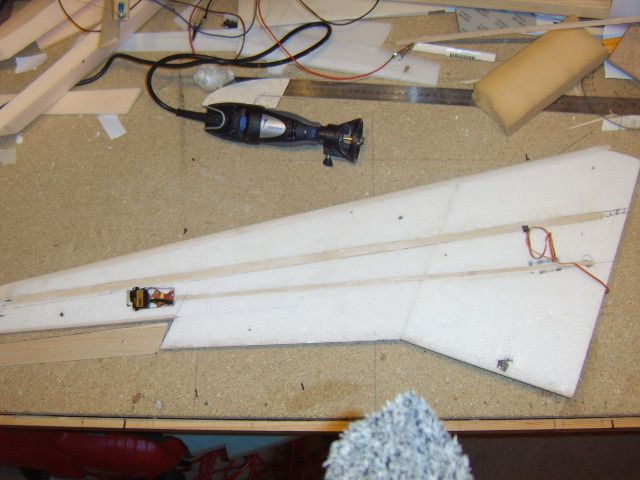
I wasn’t sure how to do this at first but eventually, it came to me. There is a 3mm carbon spar running up the tail section for strength and rigidity. I used a Dremel with the mill attachment which makes a very good job of putting a 3mm channel. Saw this at SDParkflyers YouTube channel. The tail part we all cut with a hot wire cutter.
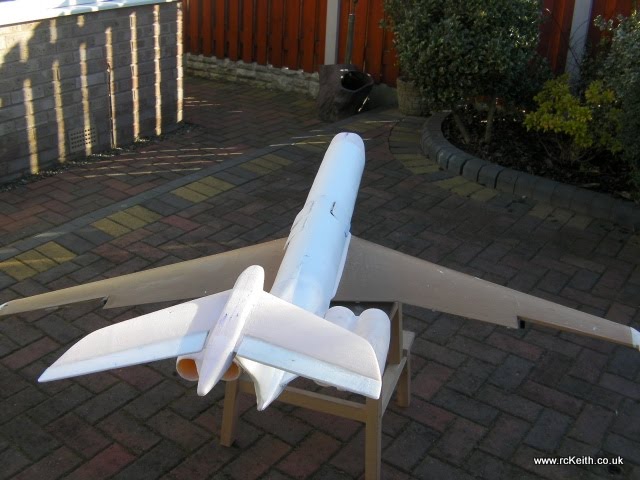
Each tailplane has a servo which is connected to separate channels in the receiver and then mixed. This is so both work in the same direction without having to rotate one 180 degrees


Wings
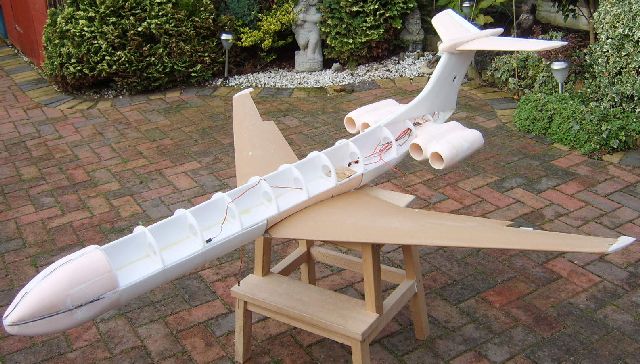
These were constructed in 3 parts with the tips in balsa. I used a hot wire bow and some templates to create the wings. This was my first foray into hot wire foam cutting and inspired me to build a CNC hot wire foam cutter. Which is probably the main focus of this website now.
The main parts are white foam with an aluminium 6mm tubular spar with balsa trailing and leading edges. This was then covered in brown parcel paper with PVA glue mixed 50/50 with water. You need to cover the bottom first and then the top straight after otherwise, the wing will warp. Using templates and cutting the cores using the feather cut method I was able to build in 2 degrees of washout and 3 degrees of dihedral. Wings are joined with 5 min epoxy and then a fibreglass/PVA bandage.


Covering
The outer skin is 3mm depron which does bend and has a grain! Its to do with the manufacturing process as the sheets are formed. I wasted quite a few pieces before I found this out. Depron will bend and the best technique I found was to use parcel tape on the outside of the bend and then bend around a former. I use an old cardboard tube that some plans came in about 5” diameter. I then used a heat gun to help hold the shape but used it sparingly.


Centre of Gravity
As any RC flyer knows C of G is critical to successful flying. After much research and advice from Alasdair Sutherland and Chris Golds, I built a 1/4 scale chuck glider to test my calculations. With the wing being very swept back the C of G is a long way on the root chord, 77% of the root chord.

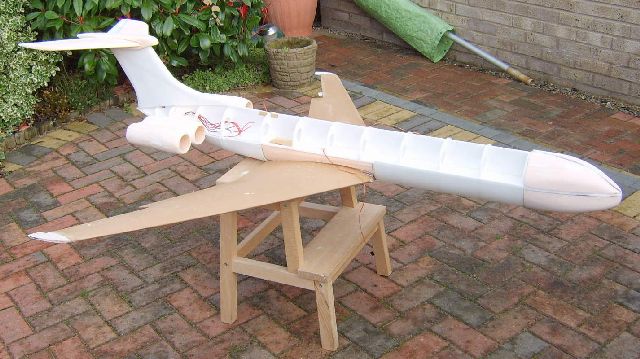
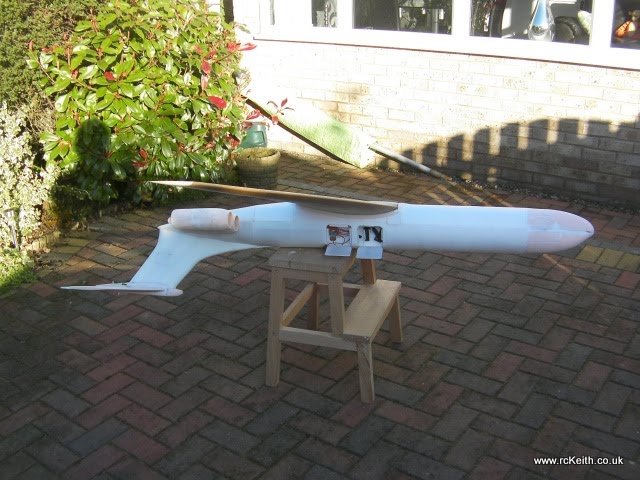
Looking like a VC-10
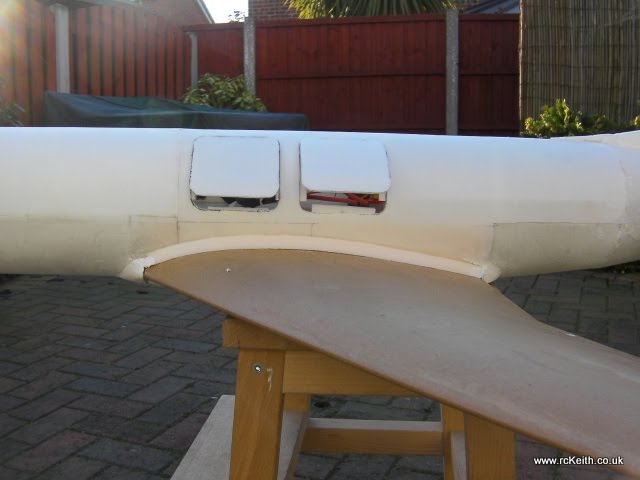
Tails is now attached and wings are now mounted





Electrics
The motors are 4100kv brushless out runners with a speed controller (ESC) for each motor. The ESC’s are 30 amp Hobbywing units. Batteries are 2 x 4000mAH 3s Lipo’s . I’ve paired the inner motor to one battery and the outer to the other, this is so if I have a failure on one half I don’t have all the thrust on one side. With the engines being close to the fuselage this may not be a big issue but better safe than sorry. The small red wire on all the speed controllers have been disconnected, this is to stop the ESC’s from confusing the receiver as the BEC cut off won’t be identical on all ESC’s
The receiver is Spektrum 2.4Ghz 6200 and will be powered by a separate battery.
Bungee Launch Testing
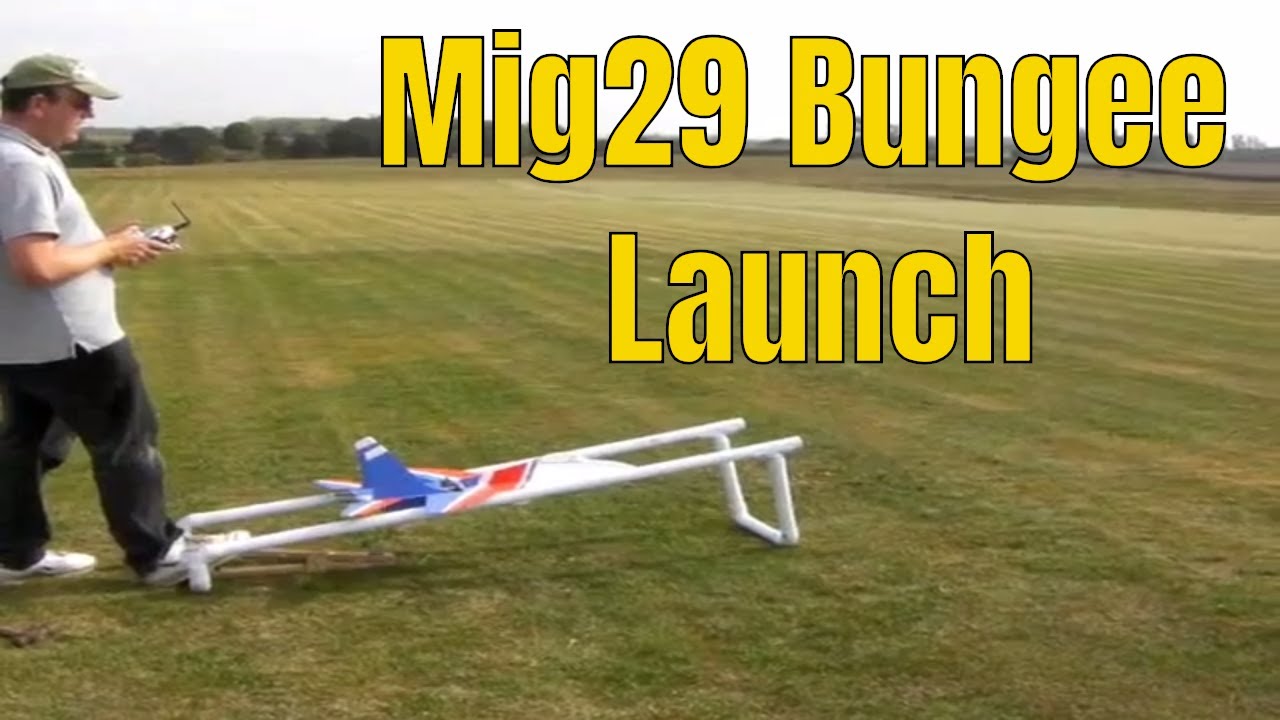
VC-10 is launched by bungee but before committing her to the launcher I’ve built I wanted to test it and confirm where the bungee hooks should go. Used my depron MIG-29 from an RC powers plan for testing. I made the bungee hook so that I could quite easily re-position it. As you can see from the video it works and I’ve realised I need to re-position the hook on the VC-10, it’s too far forward.
It Flies
Well after 3 years she finally flew on the 30th Jan 2011 and we got some video. Still in primer but was later painted as G-ARVB the VC-10 pictured above.
Still had quite a bit of finishing off to do but I didn’t want to spend too much time on here before I knew she could fly. All went very well club chairman did the honours and once trimmed out I had a few circuits. She flies very nice and looks really good in the air.
Finishing off
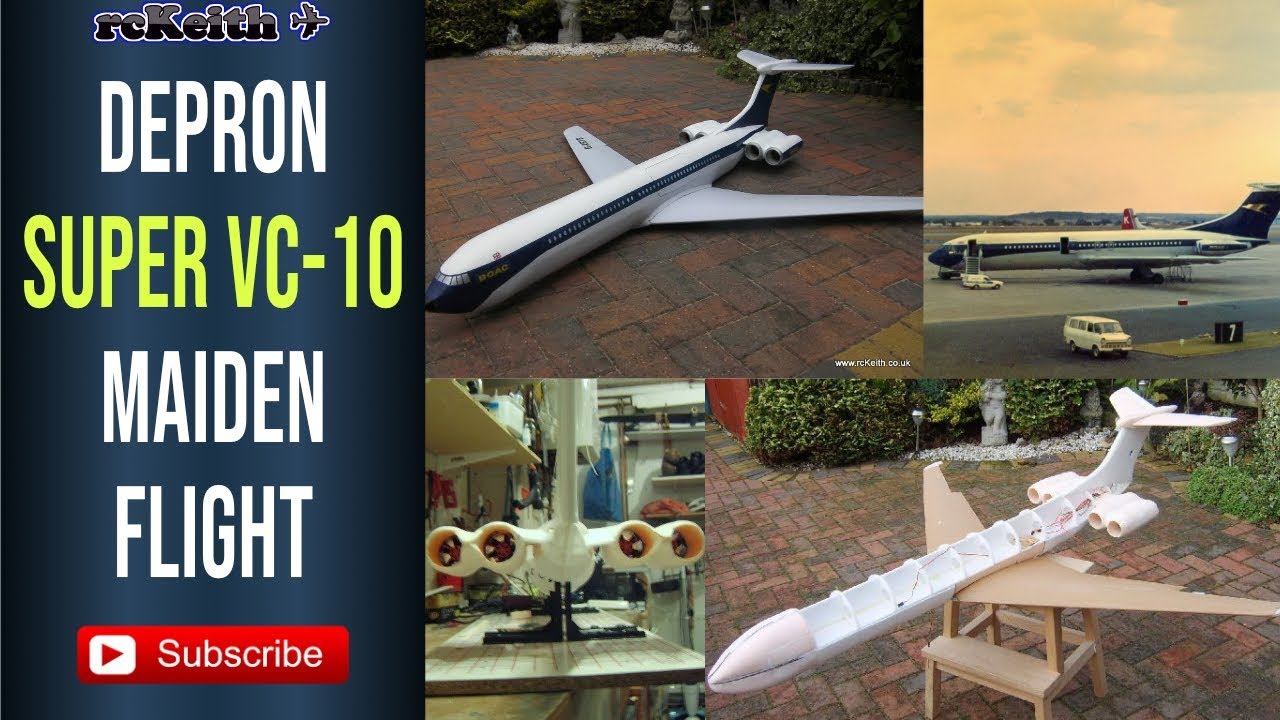
VC-10 was finished in BOAC colours as G-ARVB which was the VC-10 I got up on the flight deck when I was 14 years old.
Finished
Here she is painted up and ready for her second flight. Batteries will be 4000mAH for the second flight and the launch will be by a bungee.


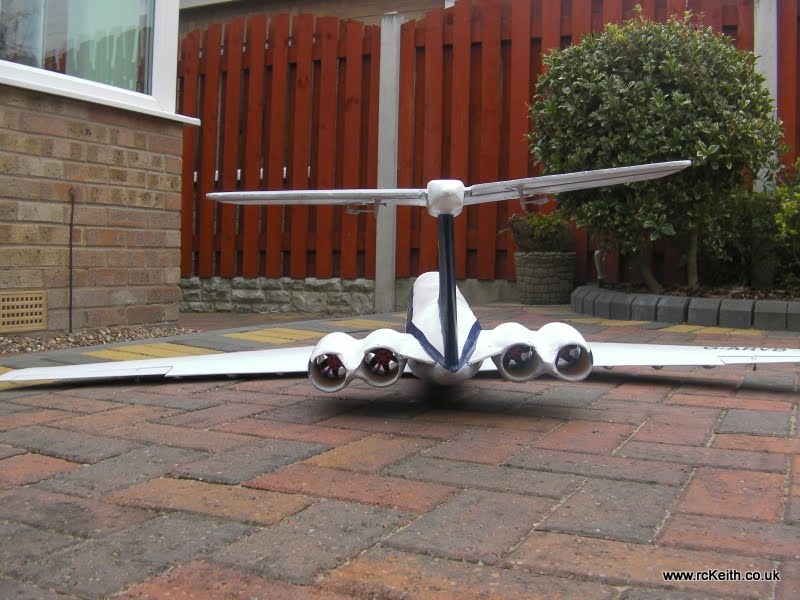


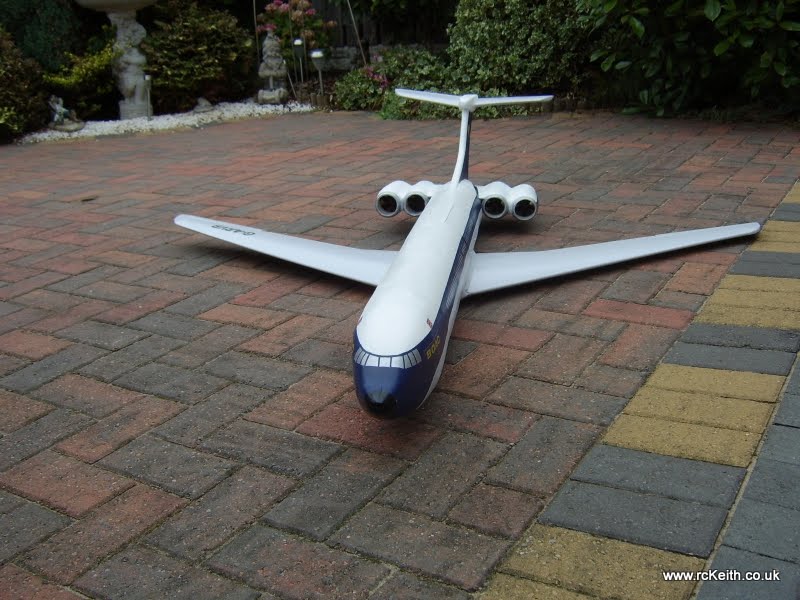


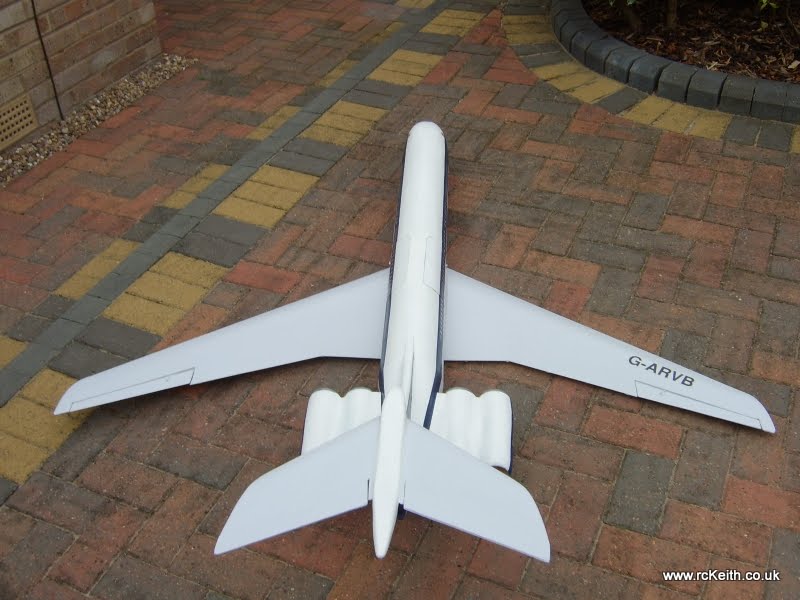


Here she is flying in her BOAC colours. The launch was a bit nerve-racking but she felt a bit tail heavy so a few tweaks to CG and some differential on ailerons


Final Flight
Sadly I crashed her on the 20th of October 2018 and after making a full assessment of the damage I decided not to rebuild her. The damage was more extensive than the video shows. The video here has the crash and some explanation. https://youtu.be/mri16JyJQW0 Sad day but I enjoyed researching and building the VC10. Maybe one day I might build another you never know!
