Fusion 360 for 4 axis CNC Foam Cutters
For some time I’ve been wondering if I could use Fusion 360 to generate g-code for a 4-axis hot wire foam cutting. Unfortunately, AutoDesk doesn’t include foam cutting in the Manufacturing section. I’ve had a request in the AutoDesk forum for several years but never received any response from them.


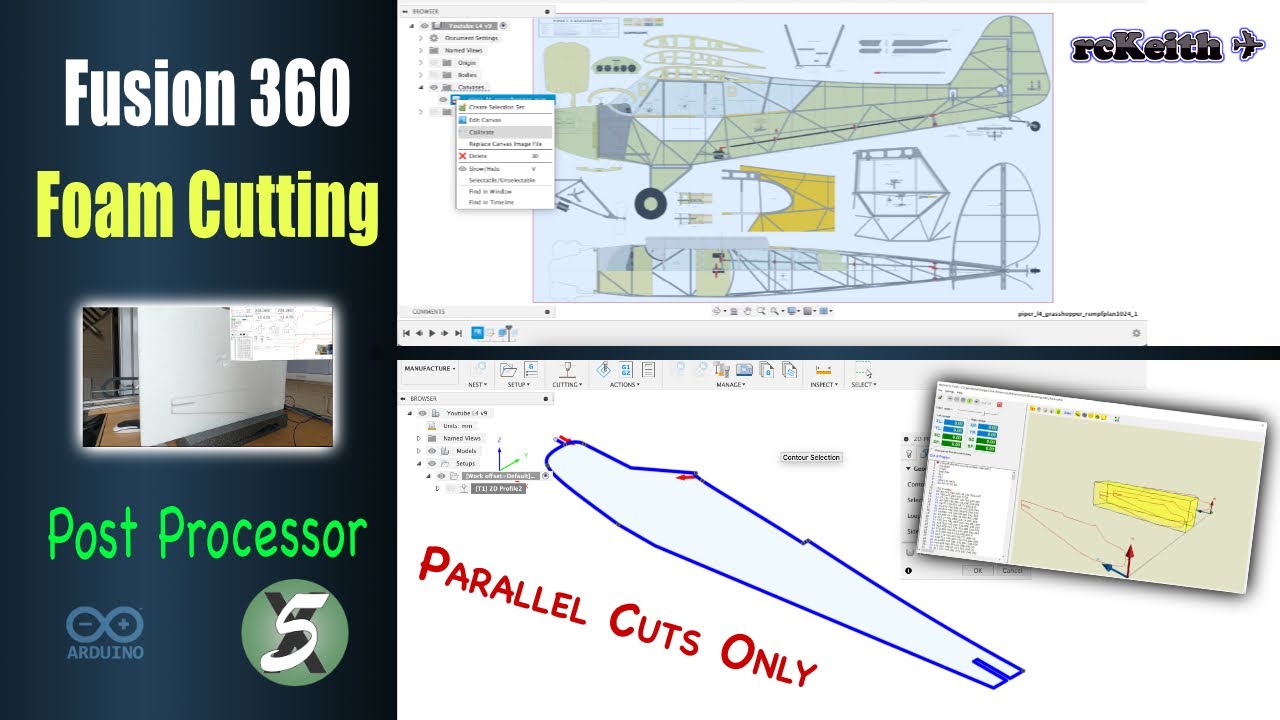
Parallel Cuts Only
So, can you actually use Fusion 360 for foam cutters?
After playing around with it a bit, I realised you can. The trick is to take a normal 3-axis router toolpath and “map” the movements — copy the X and Y axes over to the A and Z axes. That way, the foam cutter follows the same path as the router. The original Z-axis from the router setup just gets ignored.
If you’re comfortable with a text editor and search/replace functions, you can tweak the G-code from Fusion yourself to do this. I’ve tried it, and it works — but it’s really easy to make mistakes when editing by hand.
This method only gives you parallel cuts — basically the A and Z axes follow the same paths as X and Y. It’s limited, but still useful for plenty of foam-cutting jobs. To save yourself from “fat-finger” mistakes, the better option is to use a custom post-processor
Post Processor
Editing G-code by hand works, but it’s slow and prone to mistakes. A post-processor is basically a small script or add-on that tells Fusion 360 exactly how to write the G-code for your machine. In other words, it automates all the search-and-replace work you’d normally do manually.
With the right post-processor, Fusion will automatically swap the X and Y movements to the A and Z axes. That way, when you hit “Post Process” in Fusion’s Manufacture workspace, it spits out ready-to-use code for your foam cutter — no editing required.
The beauty of this is that you still get to use Fusion’s powerful CAM tools, but without the headache of manual edits or worrying about typos. Once it’s set up, it’s basically a one-click operation.

For foam cutting, I’ve modified the GRBL Laser post-processor to copy the X and Y axes to A and Z. It will also move the wire to the 0,0 position for the X and A axes. This makes sure the wire comes out of the foam and doesn’t just stop and the end of the cut.
It ain’t clever
What does this mean? Because we’re creating tool paths using 3-axis geometry and then converting them to 4-axis motion in the post-processor, it’s important to visualise how the hot wire will move. Unlike a 3-axis machine, which can retract its Z-axis to lift out of the material, a hot wire cannot do this. As a result, we need to plan our geometry with the wire’s movement in mind. This often requires adding additional sketch lines—separate from the main model—to guide the wire safely into and out of the foam..
You can see an extra 10mm line at the front of the fuselage to start the wire and end its travel in the video. Running lots of simulations with Fusion 360 and DevSim CNC foam is a must before you commit any foam.
Simulation is essential
Before running any G-code on your foam cutter, it’s critical to simulate the process first. Start by running the simulation in Fusion 360, then check the results using the free DevSim CNC Foam application. This ensures the hot wire follows the intended path. You may need to add additional helper sketch lines to achieve the desired movement.
Fusion 360’s simulation will display the tool (hot wire) paths, but will still interpret them as 3-axis movements. When the G-code is posted, the post-processor converts it to 4-axis motion. This is why it’s important to verify the converted paths in DevSim CNC Foam after posting the G-code.
Using the 4-axis post-processor
Fusion 360 Post Processor for Foam Cutting 4.89 KB 1463 downloads
This download contains the post-processor based on the grbl laser post-processor…I’ve made a video series that shows how to use this. So please watch them a couple of times before you begin. Part 1 shows how to install and use the post-processor. Part 2 shows how I make a Piper L4 Grasshopper fuselage in two parts, very similar to the FliteTest Bushwacker. Part 3 shows the foam cutter making the parts.
Summary
Please use this post-processor with extreme care. I have tested it on my machine, and it works reliably with my simple fuselage design. However, running simulations first is essential—skipping them could result in damage to your machine.
This post-processor is basic and not highly sophisticated, but when used within its limitations, it can be very effective. If you’re looking for a more advanced solution, consider trying DevFoam. While I haven’t personally used DevFoam, I do have experience with the RC-aeroplane-specific versions—DevWing Foam and DevFus Foam. Tutorials for these programs are also available on my website.
Happy foam cutting


